And as I promised yesterday here is a more ‘adult’ version of the Slide up Gift Card Holder in Mint Macaron! Pretty don’t you think? I love this DSP too!
Again, this was cased from Sweet Serenity’s You Tube video: Slide up Gift Card Holder. She used Velco dots to keep the top down, I used tiny magnets to hold the top. Love the little ‘click’ when they meet. Amazingly strong for such little magnets. Available from Amazon. 
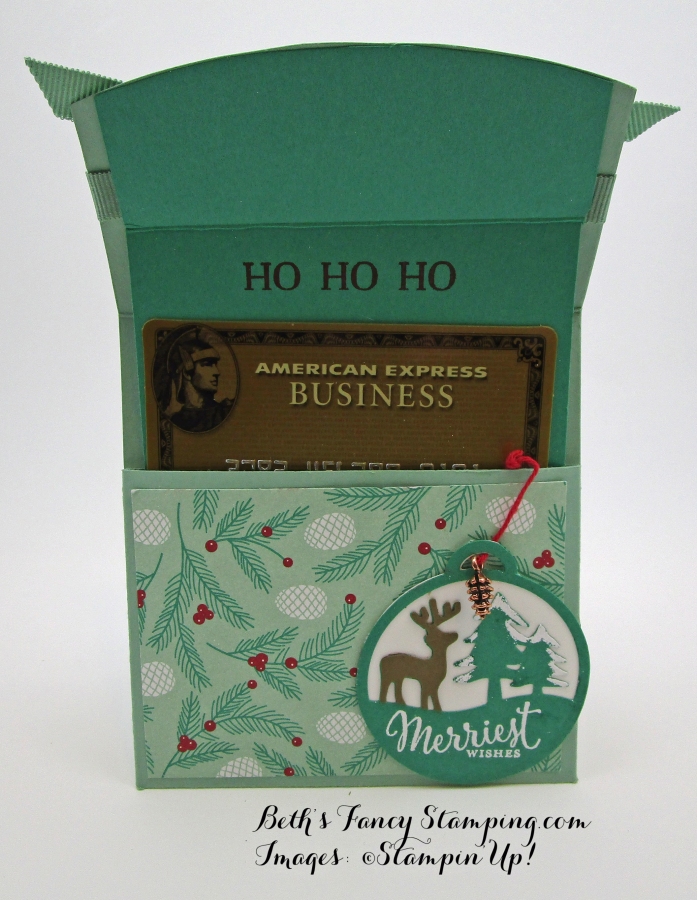
The main part of the gift card holder is Mint Macaron Card Stock with layers of Presents and Pinecones DSP (from the Holiday Catalog) adhered with SNAIL adhesive. The inside mechanism is using Emerald Envy Card Stock and only adhered to the inside top flap with Fast Fuse or another very strong adhesive.
The sentiment is stamped in Basic Black Ink using the HO HO HO stamp from the Oh What Fun Stamp Set. The tag on the right was die cut from Emerald Envy Card Stock using the Merry Tags Framelits Dies. The little deer was done by die cutting an additional piece using the Merry Tags Framelits Dies in Crumb Cake Card Stock then carefully cutting him from the Crumb Cake at the bottom of his feet and adhering him to the Emerald Envy die cut.
I then heat embossed the sentiment on the tag using VersaMark and then sprinkling White Stampin’ Emboss powder. The sentiment is from the Merriest Wishes Stamp Set. I also touched the edges of the pine trees with Versamark and then sprinkled White Stampin’ Emboss powder and heat embossed all. The backing was die cut using the solid form from the Merry Tags Framelits Dies in Whisper White Card Stock and adhering together using Multipurpose Glue. (I did use the Precision Base Plate for both die cuts). By the way, the Merry Tags Framelits dies and the Merriest Wishes Stamp Set can be purchased as a Bundle and save 10% .

The tag was attached to the Gift Card Holder by punching a hole in the top of the inside front and using the red twine from the Candy Cane Bakers Twine set I threaded the Pin Cone Embellishment on it and tied the ends together, clipping the twine very close and hiding the knot in the back.

This is a good view of the mechanism attachment to the top flap.
Looking at this I can see where it can be adjusted a bit for a piece of Ghiradelli’s chocolate squares to be put in the little mechanism instead of a Gift Card.
Here are the products that I used in making this gift card holder: Product List


 Trio Pack")


